The Project Creator GUI provides a series of pages used to create a new application or migrate an existing 3.x application to 4.x.
Menus
The tool has the following menus:
- Settings
- ModusToolbox™ Settings – This opens the Settings tool, an editor that allows you to configure a wide range of settings for your environment, such as proxy settings and content modes. See the Settings tool user guide for more details on specific features.
- Help
- View Help – Opens this document.
- About Project Creator – Displays tool version information.
Filter
On several of the pages, there is a filter text box above the list of items shown (BSPs, MPNs, Code Examples, etc.). Using this filter can make it easier to decide which BSPs, MPNs, and application(s) to select. Text entered in this field is searched against keywords in the application’s manifest, title, and description. Along with items that match the search, any imported BSPs/applications are included at the beginning of the list, and any applications with a selected check box are included at the end of the list.
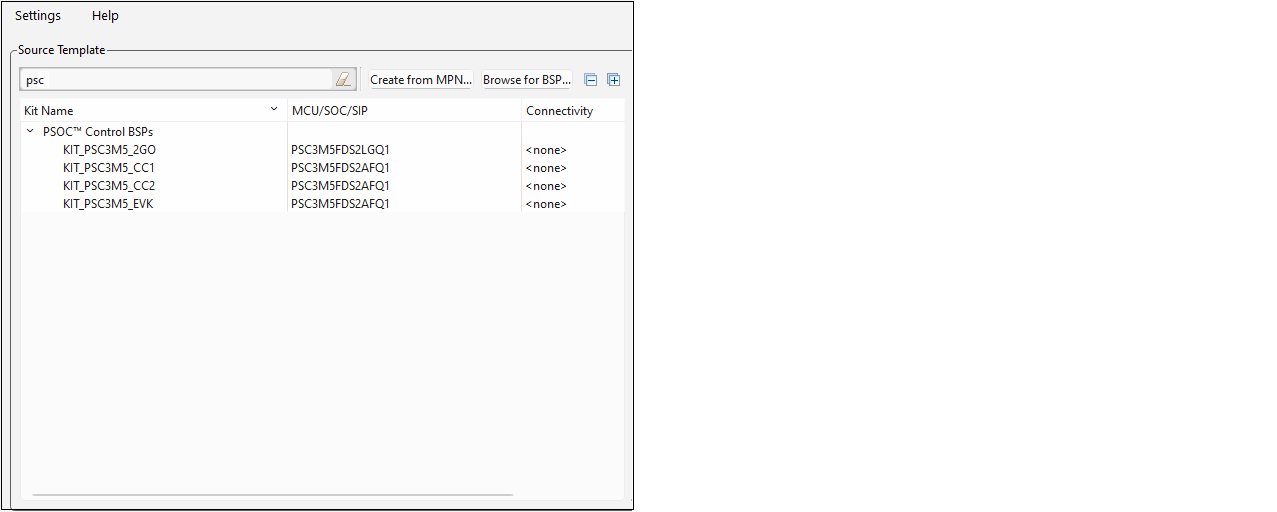
You can enter text with spaces, and they are treated as separate search terms. You can also use a quoted phrase, such as "psc", which is treated as a single term.
Menus
The Project Creator has the following menus:
- Settings
- ModusToolbox™ Settings –
This opens the Settings tool, an editor that allows you to configure a wide range of settings for your environment, such as proxy settings, content modes, and manifest DB settings. See the Settings tool user guide for more details on specific features.
- ModusToolbox™ Settings –
- Help
- View Help – Opens this document.
- About Project Creator – Displays tool version information.
Choose BSP page
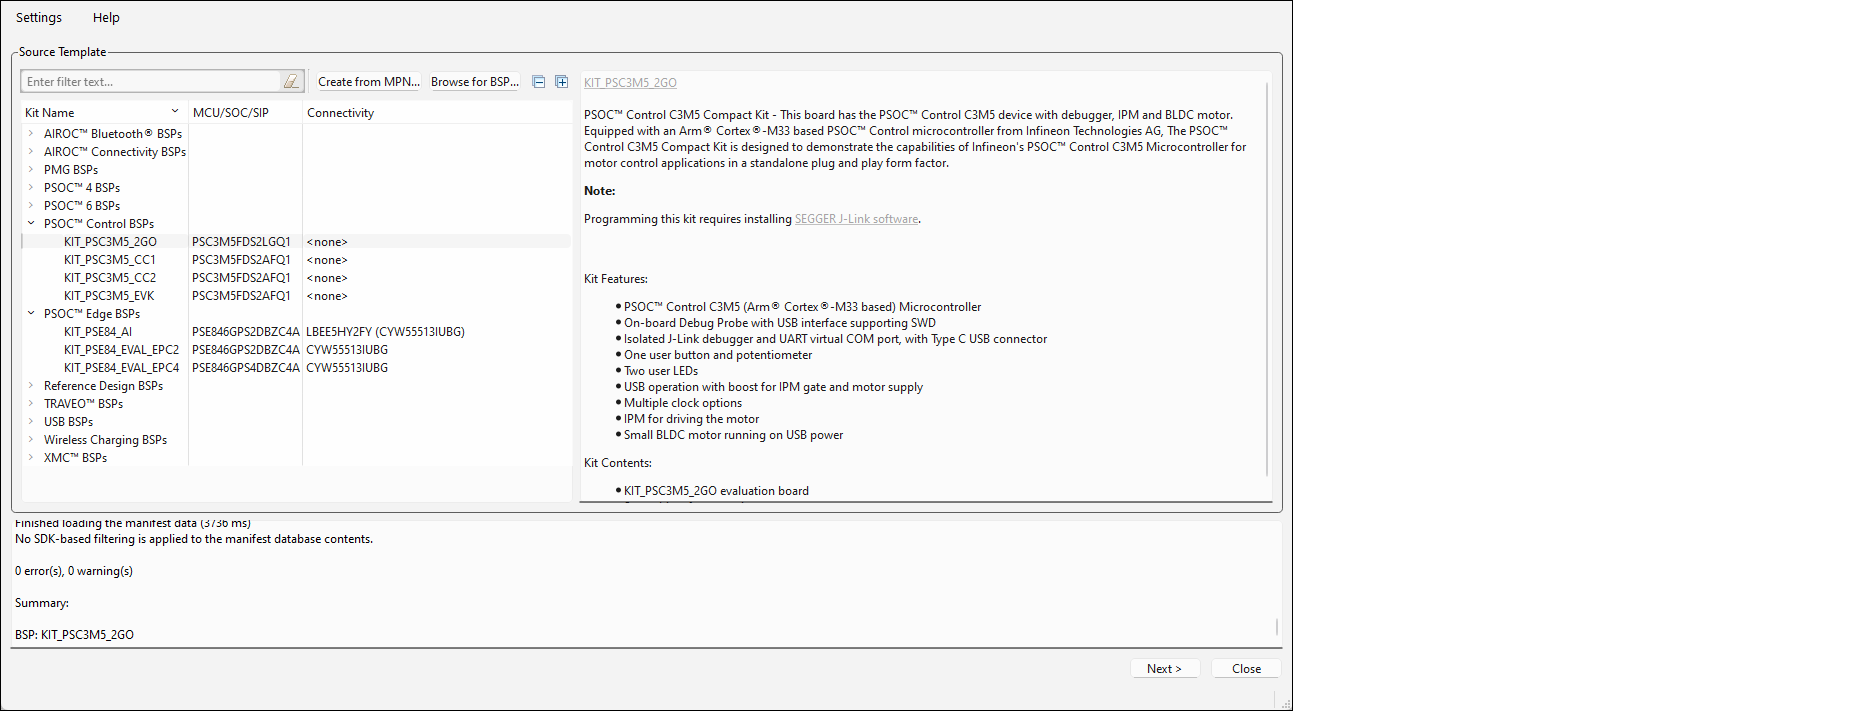
Expand one or more categories to view the BSPs, and select the desired BSP by clicking it. A description for the selected BSP displays in the right pane.
Use the Expand All or Collapse All options as needed to show or hide all the BSPs.
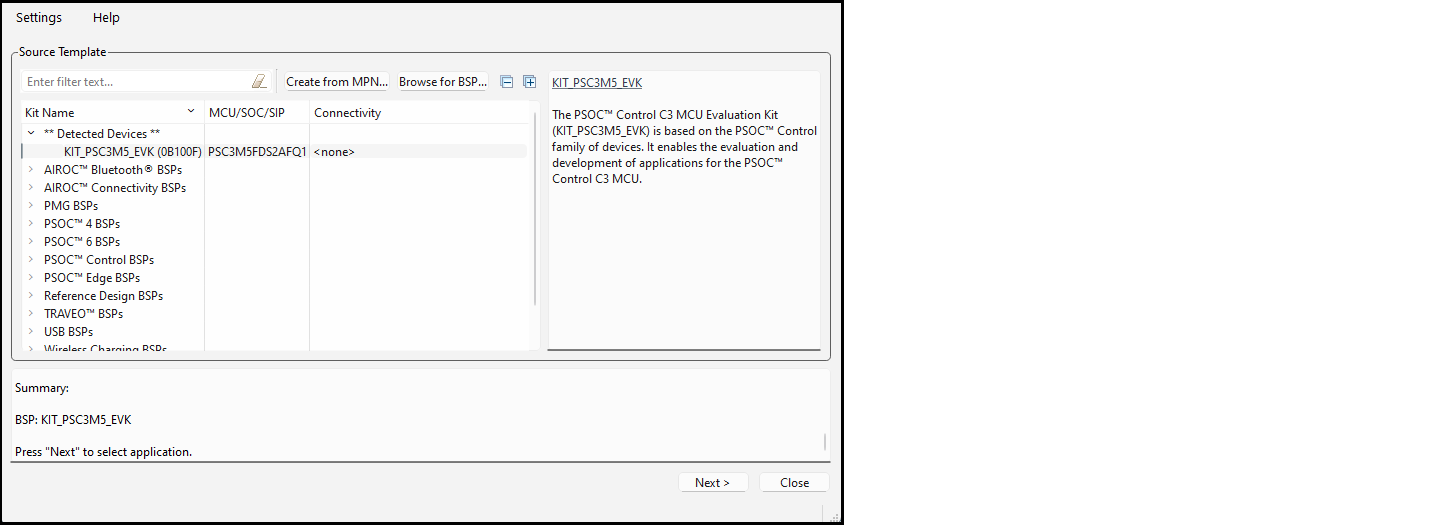
Create BSP from MPN
This command opens the BSP Assistant tool to create a BSP based on device part numbers. Refer to the BSP Assistant user guide for more details about how to create a BSP from MPNs. When you close the BSP Assistant, the new BSP will show up in the list under Import.
Browse for BSP


Using virtual SDKs
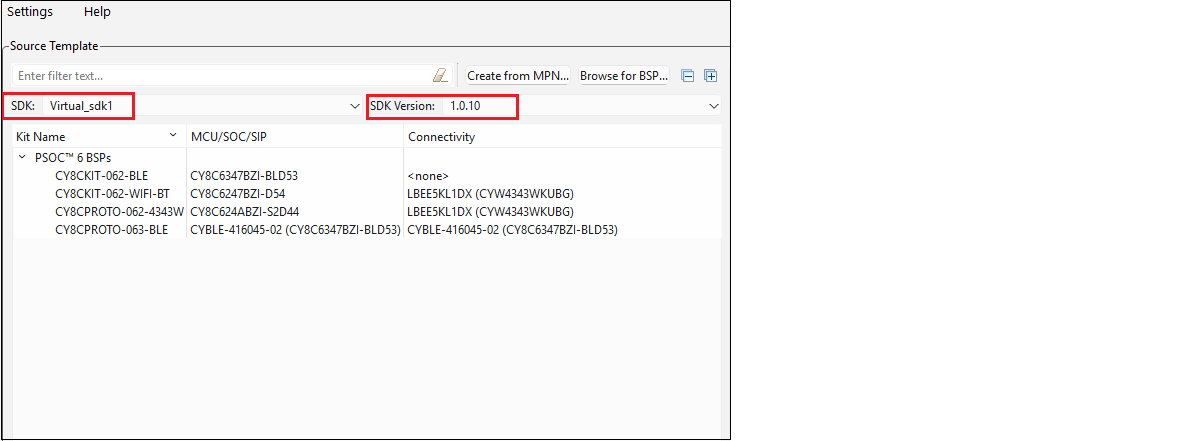
If any virtual SDKs are available to you, the SDK and SDK Version fields display to select one and its version. You can use the Settings tool to specify an SDK that will always be selected by default. A virtual SDK is a list of assets (kits, applications, libraries, etc.) and specific versions of those assets. This setting allows you to filter available BSPs and applications based on the information in those files. It limits the available BSPs, example projects, and libraries to provide a more streamlined development process.
Select application page
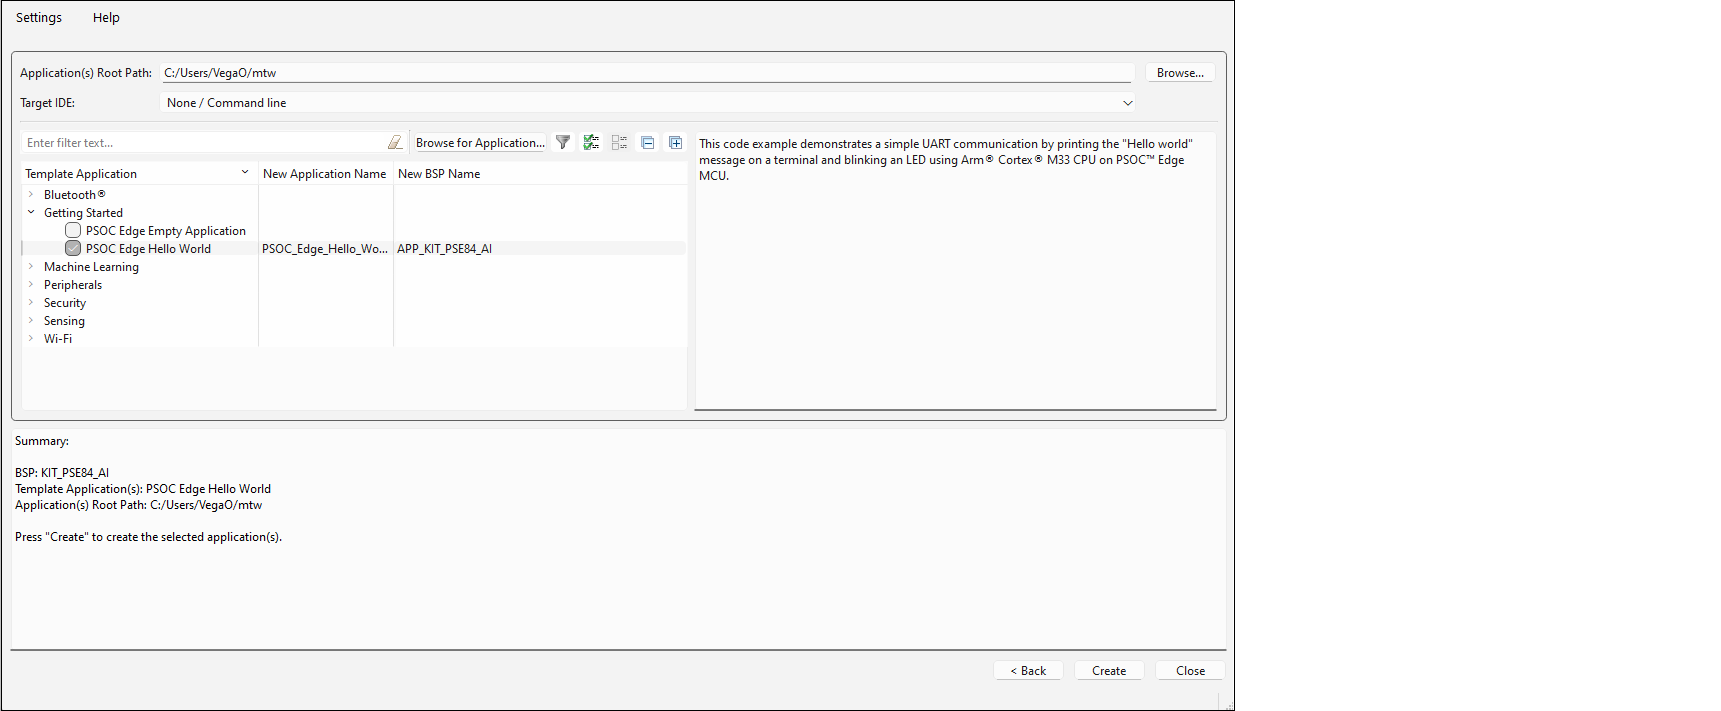
On this page, do one or more of the following:
- Specify the Application(s) Root Path, or leave it as the default. All files and folders from the application(s) with a selected check box will be copied to this location in a folder with the Application Name(s).
- Optionally pick an item from the Target IDE pull-down menu, which will generate the necessary files for the selected target. For more details, refer to the applicable user guide for the desired IDE.
- Expand one or more categories to see the applications available. Use the Expand All or Collapse All options as needed to show or hide all the applications.
- Select one or more check boxes for applications in the list. You can click on the check box or use the right-click context menu. See Select multiple applications for more details.
- Type a New Application Name
or New BSP Name for the application(s) by
double-clicking on the selected field, or leave the name as the default.

Toolbar options

- Filter text – Field used to show only the applications that match the text entered.
- Browse for Application – Allows you to add other applications to the list. See Browse for application.
- Show/Hide – Toggle to show only the applications with check boxes selected or show all applications. If there is search text, then only applications with check boxes selected and applications with matching search text will be shown instead of all.
- Select All – Select the check boxes for all applications currently shown in the list.
- Deselect – Deselect the check boxes for all applications currently shown in the list.
- Expand All – Click to expand all item trees.
- Collapse All – Click to collapse all item trees.
Select multiple applications
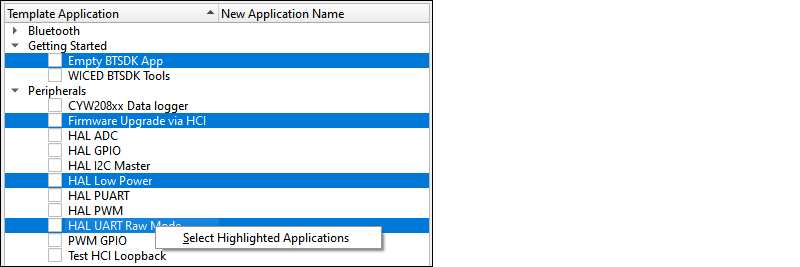
The "Select Application" page allows you to select multiple applications, as follows:
- Click multiple check boxes next to the applications.
- Click to highlight an application, then press and hold [Ctrl] and click additional applications.
- Click to highlight an application, then press and hold [Shift] to select a range of applications.
Using filter text
On several of the pages, there is a filter text box above the list of items shown (BSPs, MPNs, Code Examples, etc.). Using this filter can make it easier to decide which BSPs, MPNs, and application(s) to select. Text entered in this field is searched against keywords in the application’s manifest, title, and description. Along with items that match the search, any imported BSPs/applications are included at the beginning of the list, and any applications with a selected check box are included at the end of the list.
You can enter text with spaces, and they are treated as separate search terms. You can also use a quoted phrase, such as "psc", which is treated as a single term.
Browse for application
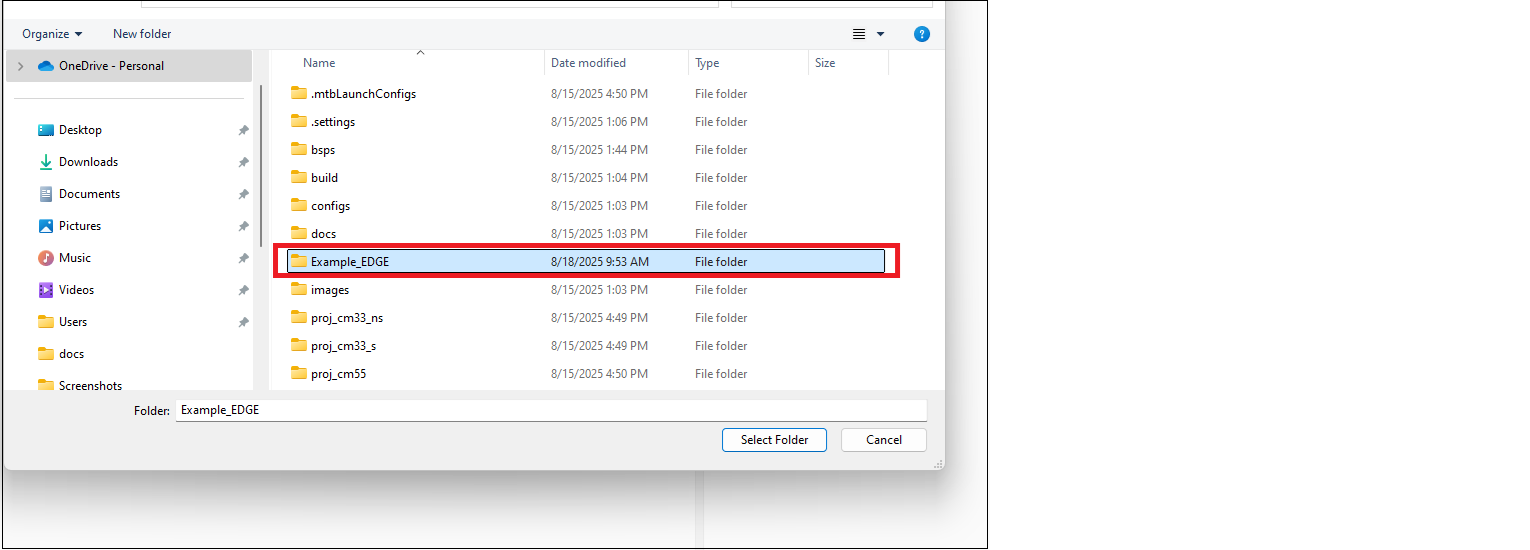
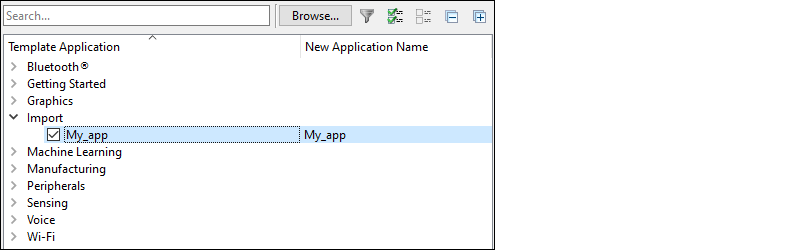
The Select Application page provides a Browse for Application button to select other applications you may have created or received from a colleague. After clicking the button, the Select Folder dialog opens. Navigate to the appropriate directory containing the application to import and click Select Folder.

Create an application
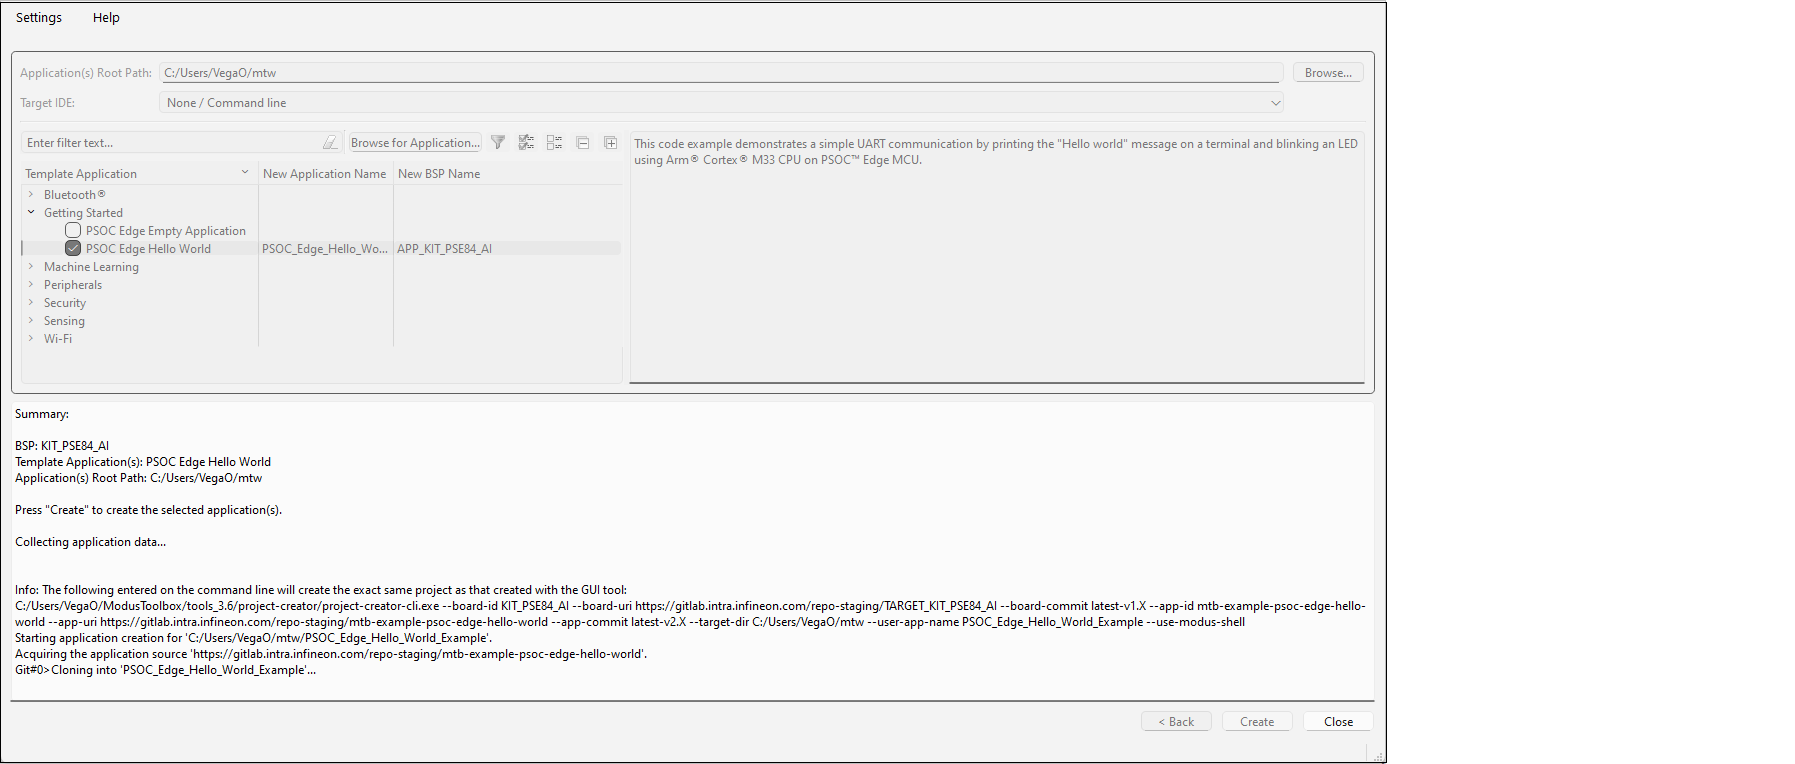
Using the command line (see CLI description), you can manually select which version to use. If the BSP and application flow versions match, then the project-creator tool will create a project. If not, then it will show an error.
The GUI always shows applications that have at least one application version that is supported by at least one BSP version.

You can continue creating new projects from the "Select Application" page by selecting a new application and then clicking the Create button again. You can also go back to the "Choose BSP" page to select another BSP and then continue the project creation process as usual.
To close the tool, click the Close button or the X button at the top-right of the GUI.