Build applications
This chapter covers various aspects of building applications. Building applications is not specifically required, because building is performed as part of the
Program and debug
. However, if you are running Eclipse without any hardware attached, you may wish to build your application to ensure all the code is correct.
Build with Make
You can build applications from the command line using Make. Refer to the
ModusToolbox™ tools package user guide
(also located in the
~\ModusToolbox\docs_<version>
directory) for more information.
Build with Eclipse
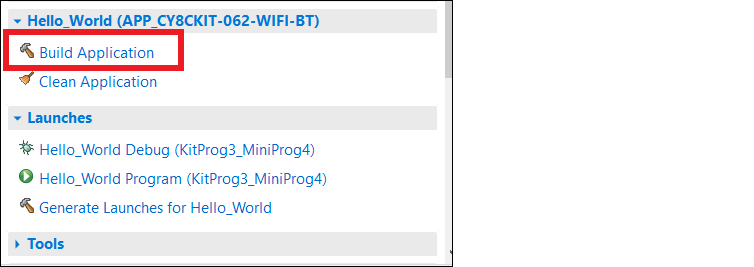
After loading an application, it is best to first build everything to generate the necessary files. Click on a project in the Project Explorer. Then in the Quick Panel, click the "Build Application" link.
Building an application will typically allow IntelliSense to work better. It may also be useful to right-click on a project and select
Index > Rebuild
to allow IntelliSense to find references.
Messages display in the Console, indicating whether the build was successful or not.
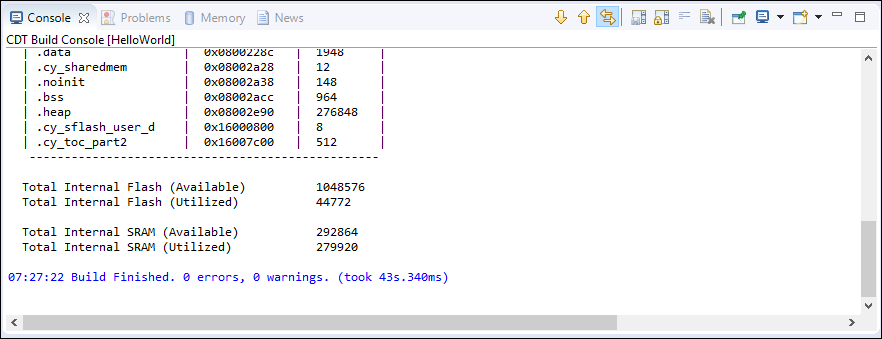
Note:
Be aware that there are several Console views available.
You can access the different views using the
Display Selected Console

button (or the pull-down arrow). The Global Build Console is the only way to see all of the results in one place. If you just have the standard Console open, it resets every time a new project in the application starts building. You won’t see any errors if they are not on the final project that gets built.
For subsequent updates, we recommend that you use the
Build Application
option from the Quick Panel.
Note:
When the active build configuration is changed it affects only the selected project. The active build configuration for any dependent projects is specified separately for each project. Therefore, if you want to use the same configuration for all projects (for example, Debug or Release), it must be set for each project. It is possible to select multiple projects at once from the Project Explorer and then select the active configuration.