Quick start
This section provides a simple workflow for how to use the Device Configurator.
Open the Device Configurator as applicable to your environment; that is, in stand-alone operation in Keil µVision or as part of a ModusToolbox™ application.
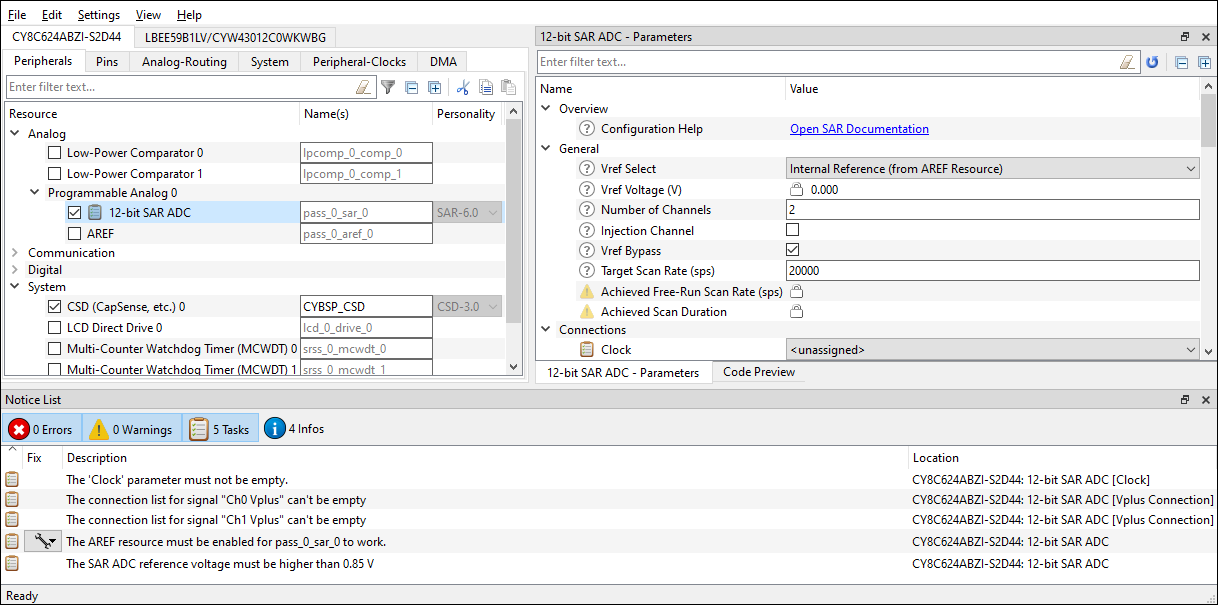
Enable a desired peripheral on the
Peripherals
tab by clicking the enable check box. Notice the
Parameters pane
becomes populated with fields.

Notice also that a new task may appear in the
Notice List
pane.
See
Icons
for descriptions of the various icons displayed in the Device Configurator.
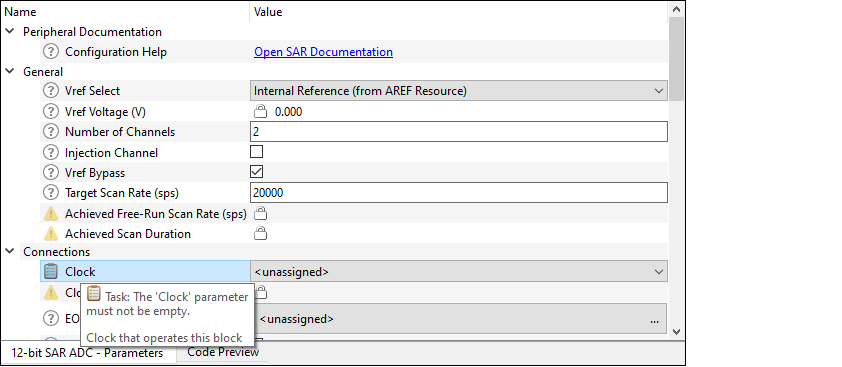
Double-click on a task to jump to the parameter that needs to be addressed.

Select appropriate
Parameter values
and the task should be removed from the Notice List.
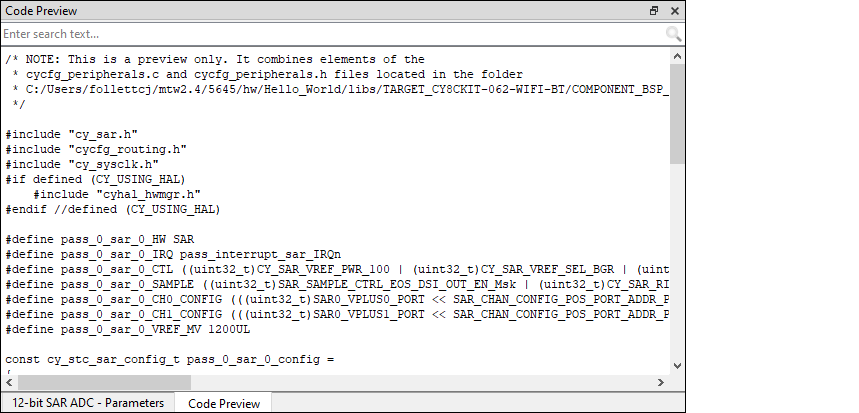
When all tasks have been completed, select the
Code Preview pane
to see a preview of the code that will be generated upon saving.

Use the
Resources tabs
to enable and configure other resources as needed in the same manner as peripherals.
Save the *.
modus
file to generate source code.
The Device Configurator generates code into a "GeneratedSource" directory in your Eclipse IDE application, or in the same location you saved the *.
modus
file for non-Eclipse IDE applications. That directory contains the necessary source (.c) and header (.h) files that use the relevant driver APIs to configure the hardware. Application code then uses this code to configure the system.
Use the appropriate API in your application code.