Setting up new projects
To set a new project, create it in the Workspace view and add the required components.
About this task
Create a new project to set up the simulation of a new device.
If you want to simulate a device that is similar to an existing device, you can also add set up that device as a separate schematic in the existing project for that device, or you can duplicate the existing project and modify the duplicate as required instead of creating a new project from scratch.
Procedure
- Choose .
The New Project Requested dialog opens.

- Name the project and click OK.
A project name can contain letters (a-z and A-Z), digits (0-9), and the special characters # & () + - = @ [] ^ ' () ~. It can also contain dots (.) but may not end with a dot and underscores (_) but may not begin with an underscore. Refer to Naming directories and files
The new project appears in the Workspace view including an empty schematic.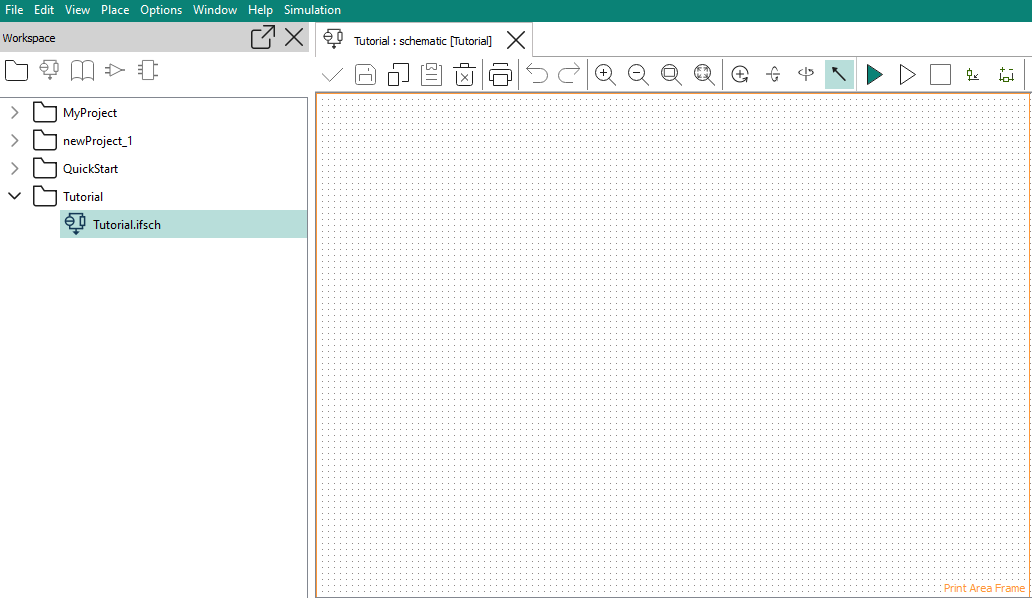
Results
The new project appears in the Workspace view. It already contains a schematic, and the tab for that schematic opens in the main work area.
What to do next
Add the components that you need to the project so that you can use them in the schematic.